


Creating a Cuckoo Clock (and Bird) Costume
Thanks to an episode of Mickey Mouse Clubhouse (Mickey’s Adventures in Wonderland … where Mickey & Donald chase after a runaway cuckoo bird), Honor has been quite interested in cuckoo clocks. Also, one of her favorite songs is “Tick tock tick tock. I’m a little cuckoo clock. Tick tock tick tock. Now I’m striking one o’clock.” So, when asked what she wanted to be for Halloween … she said “a cuckoo clock”.
I first searched for the easy way out … but couldn’t find any pre-made cuckoo clock costumes for kids (oddly enough I did find a couple for adults!). However, I did come across a tutorial that a father made about making a cuckoo clock costume for his young son (also with a cuckoo clock obsession) … and KNEW this was it!
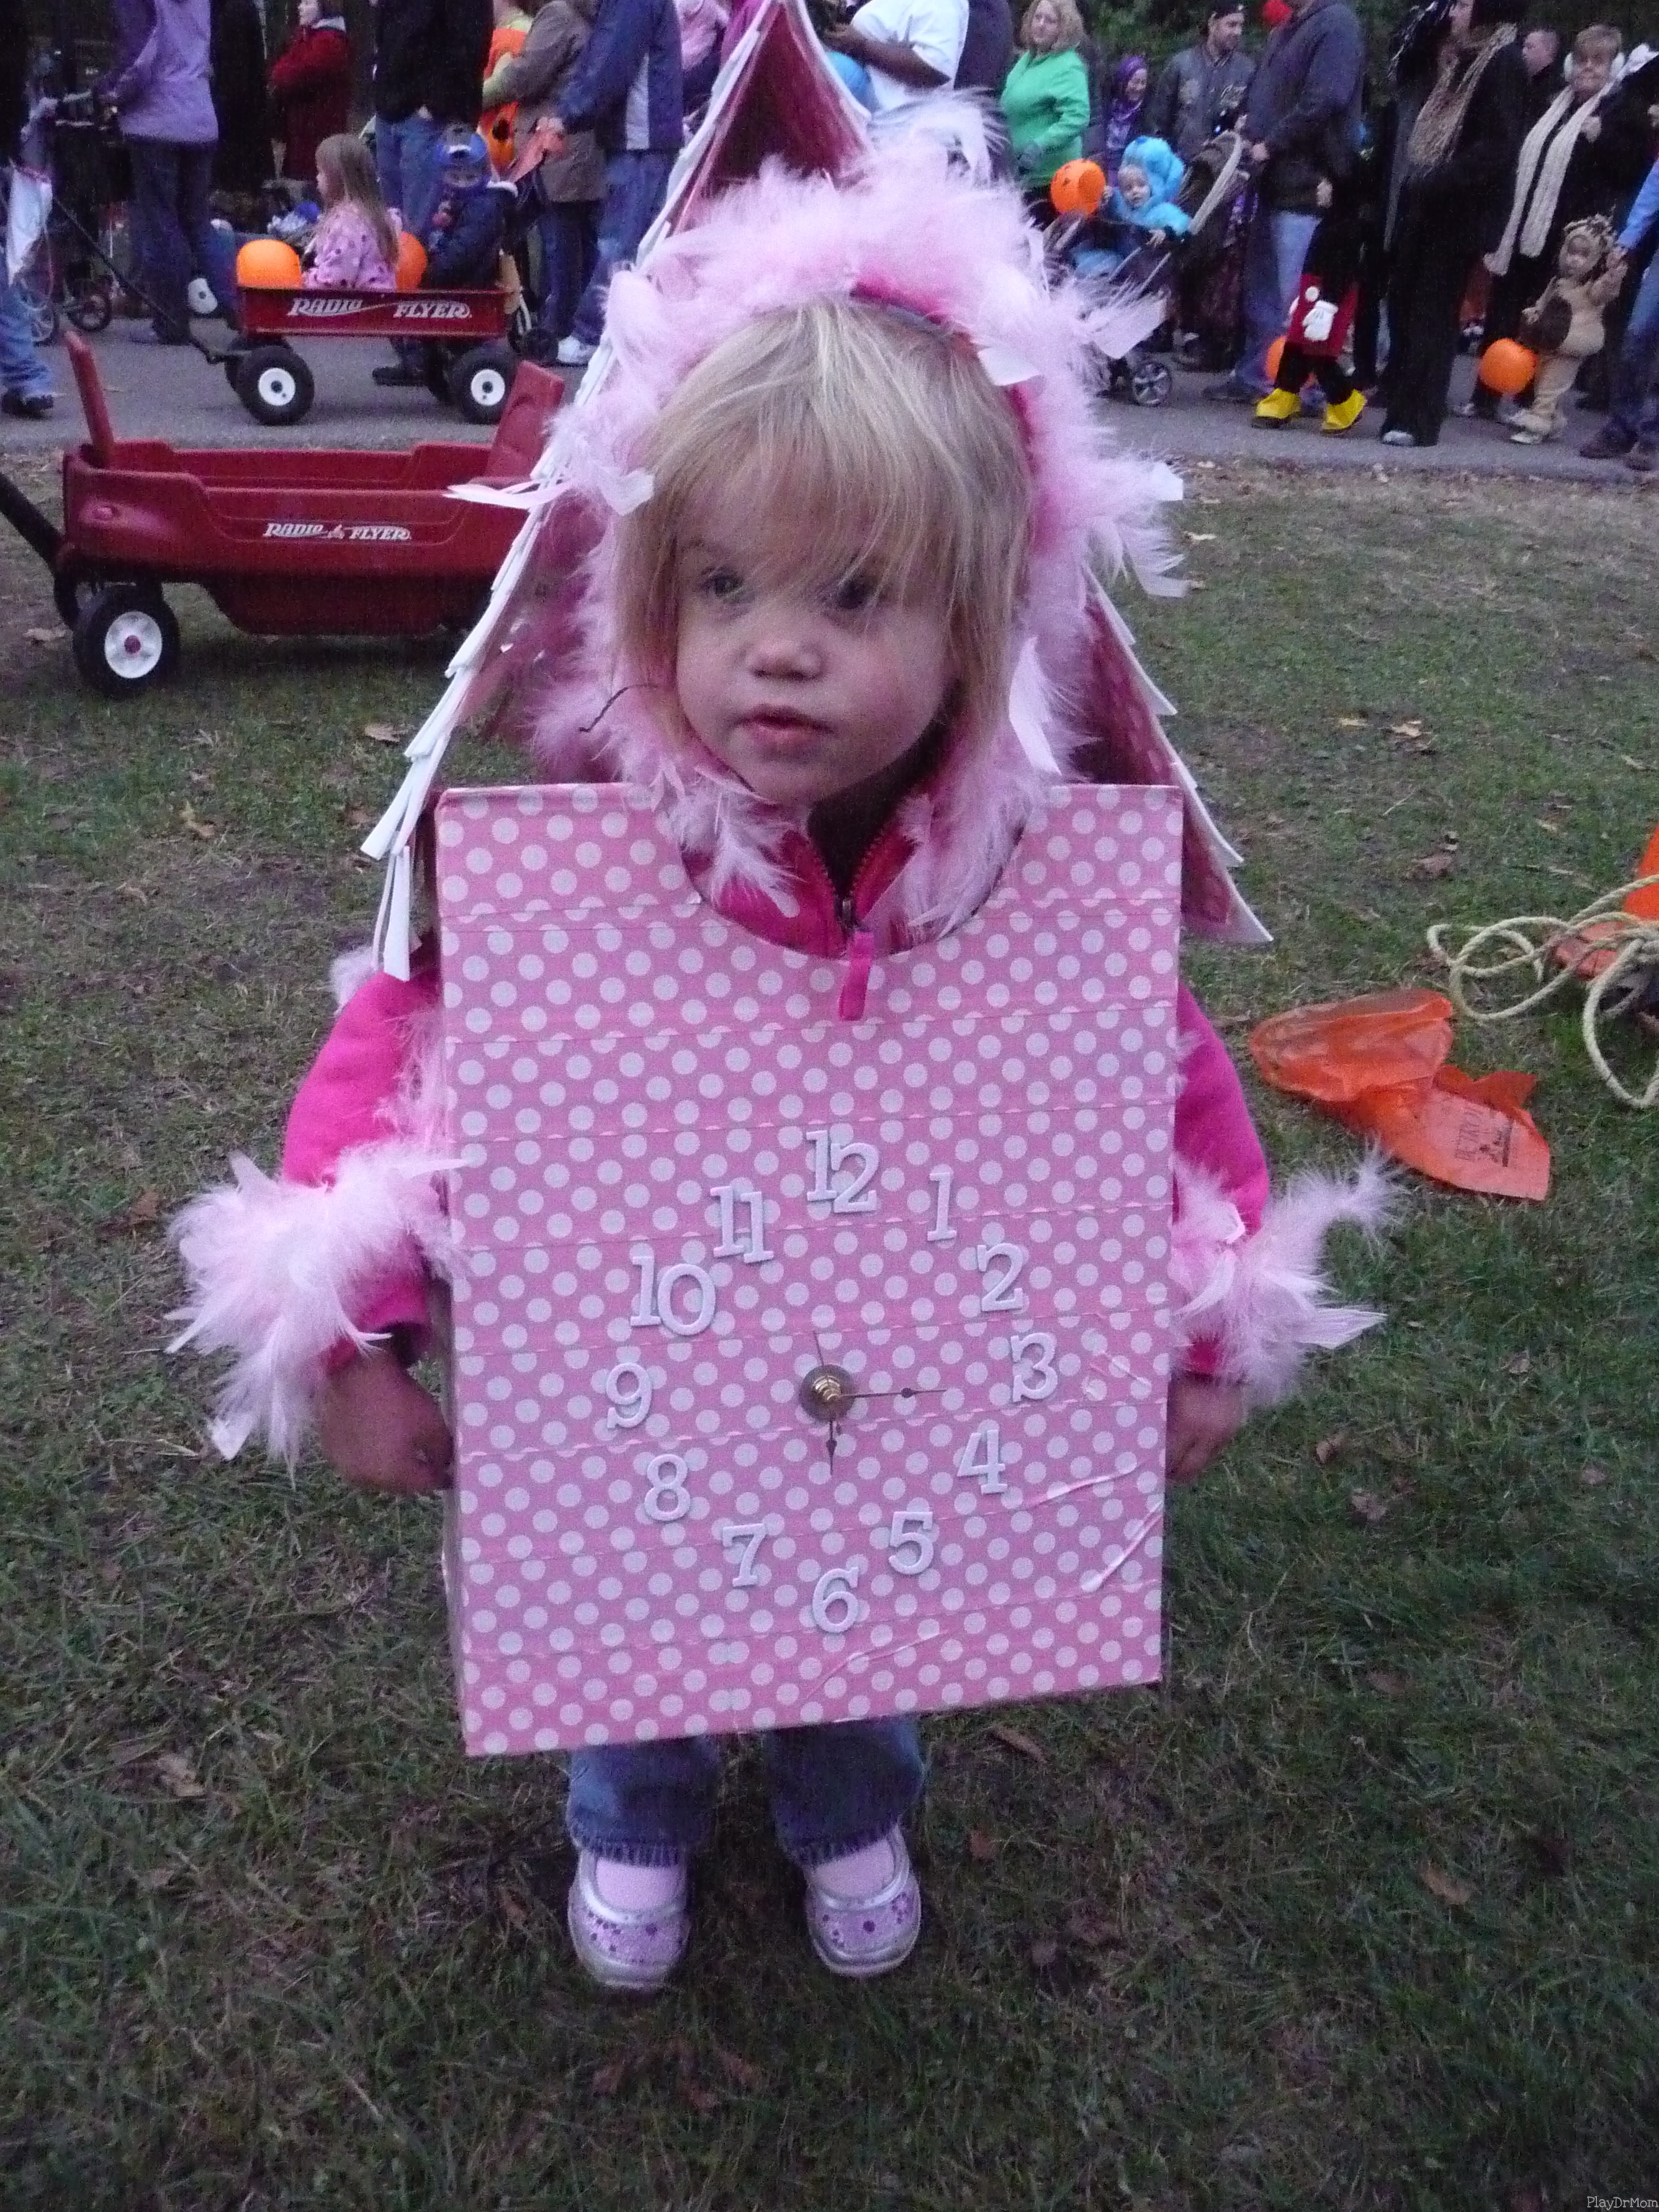
So, here’s my version. The cuckoo clock costume I made for my daughter, Honor.
I used…
- a medium size cardboard moving box (Home Depot)
- two cardboard pallets from cases of pop (Costco)
- a utility knife
- 3 rolls of pink polka dot duct tape (Michael’s)
- several sheets of white craft foam (Michael’s)
- scissors
- a clock kit (Michael’s)
- number stickers (Michael’s)
- hot glue gun
- pink hooded sweatshirt
- 2 pink feather boas (Michael’s)
- needle and thread
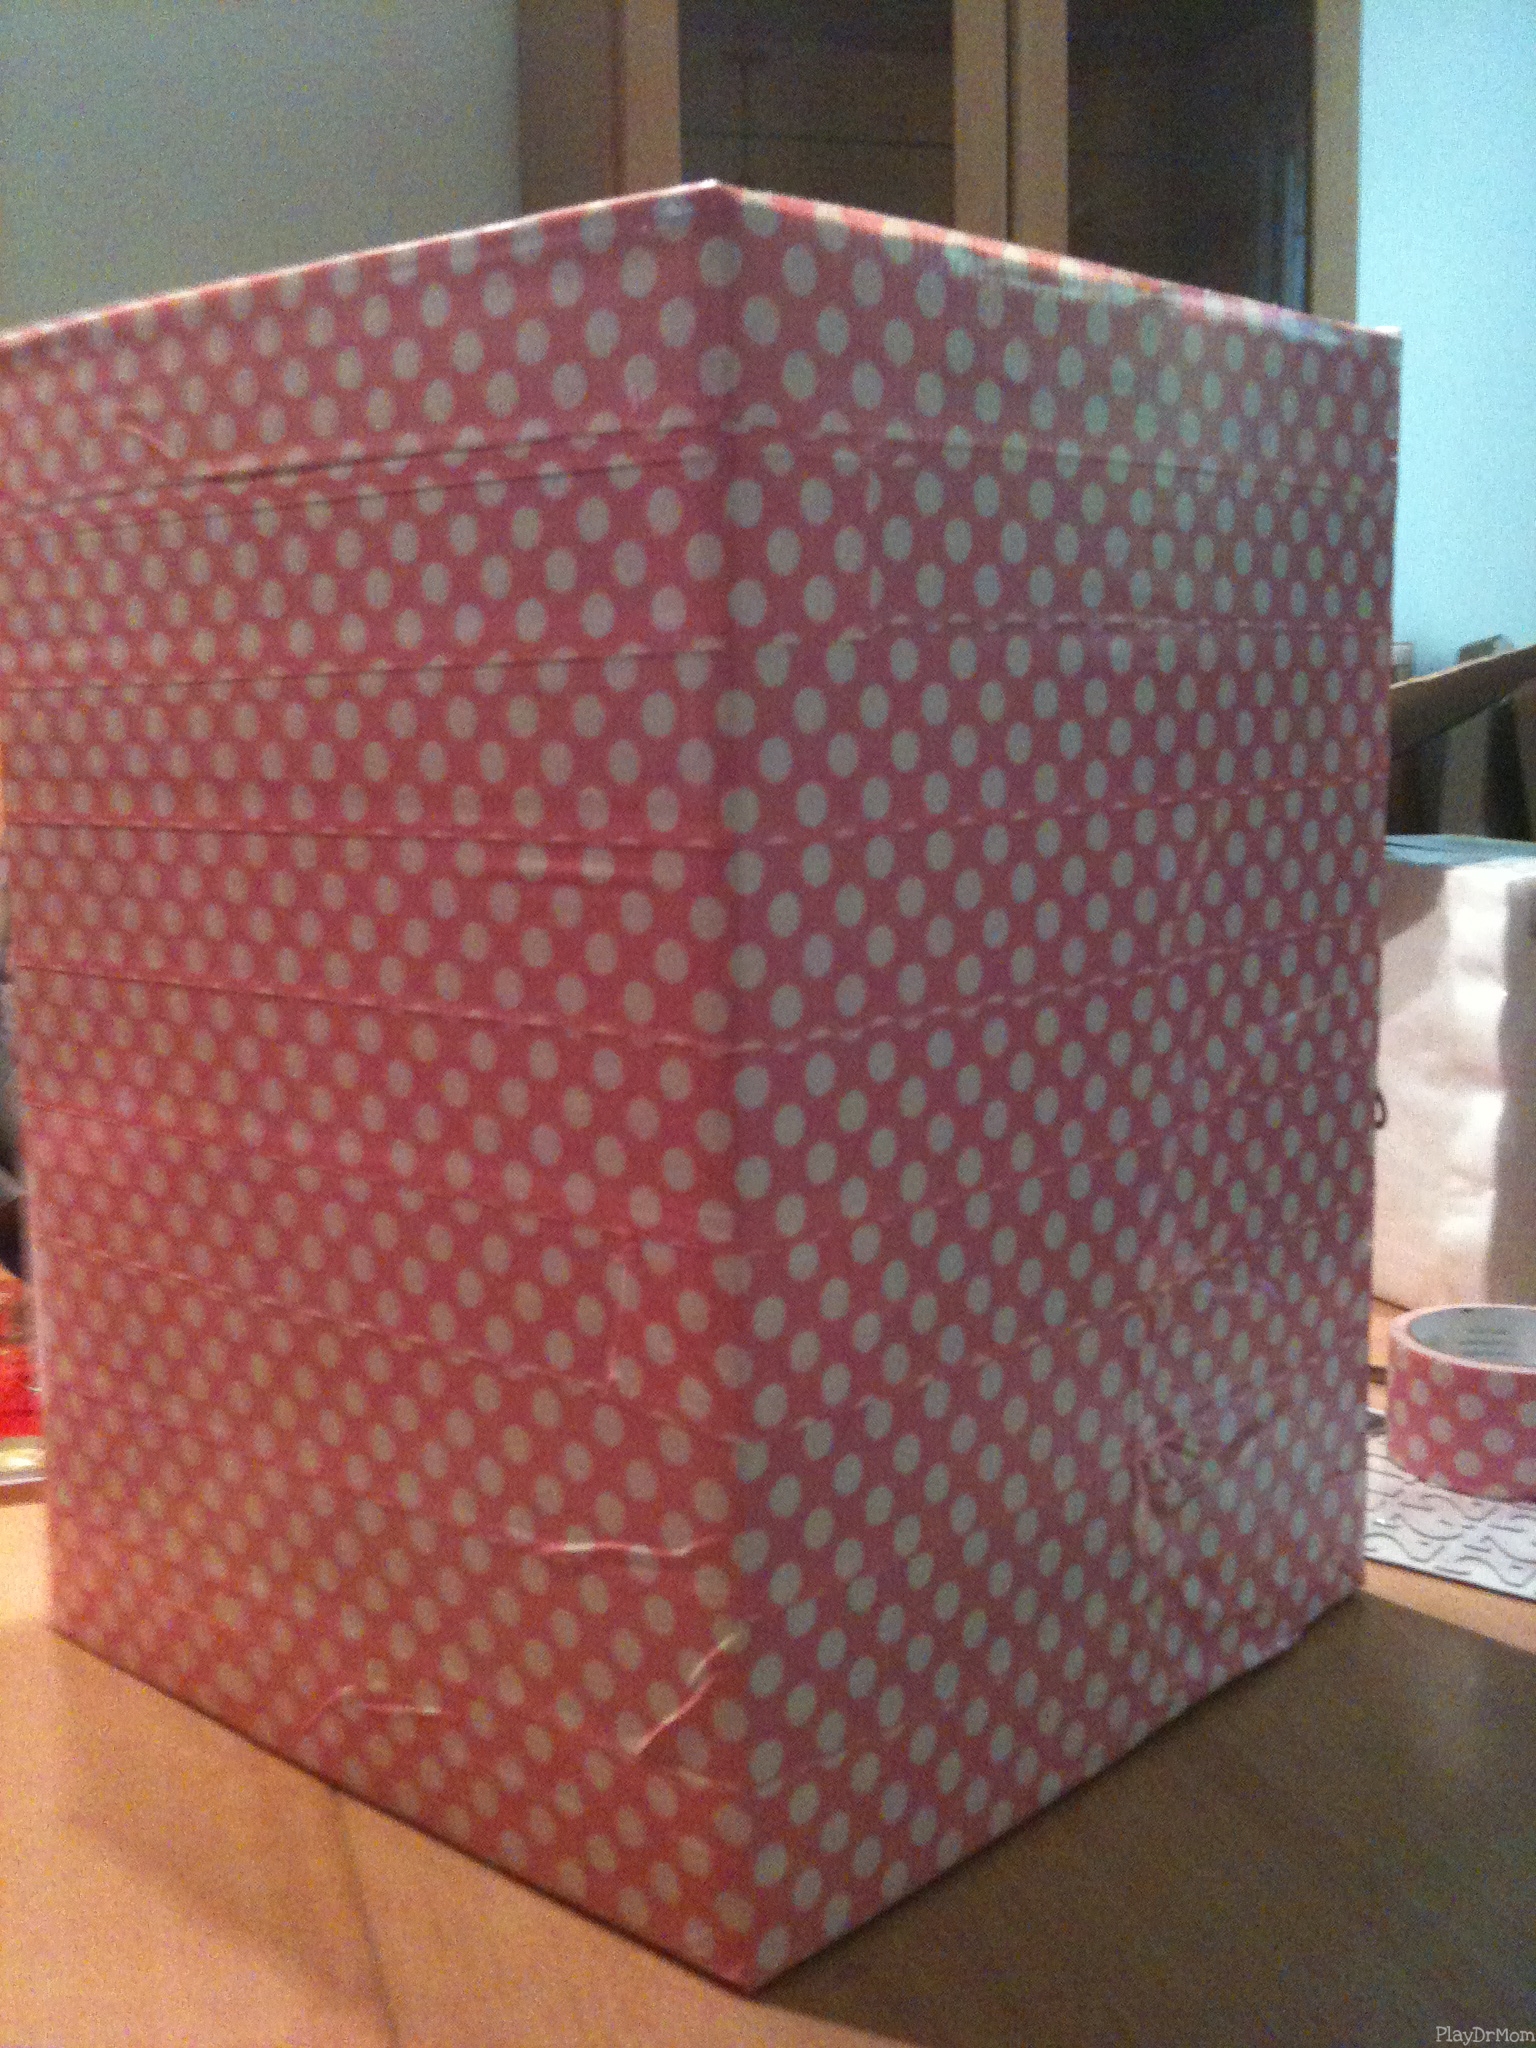
First, I completely covered the box in the duct tape. This not only made it incredibly cute and girly, but also reinforced the box (and made it stain & water resistant!!!). I then used a utility knife to cut what what I determined to be the bottom (ended up using the box sideways). Next, I cut the hole for the head. I made the cut on both the top and the front of the box. (I’ve gone back and forth on whether or not I like this decision because it makes the clock sit somewhat back on her … but then I also forces to look like she is popping out of it more … which is pretty stinkin’ cute.) After I put the box on my daughter to test out the best place for the arm holes, I cut those out too.
 To create the face of the clock, I used cardboard number stickers and installed an actual battery operated clock.


For the roof, I took the two large pieces of cardboard from the bottom of a case of pop and cut them to fit over her head (allowing for lots of clearance, because I didn’t want her to feel trapped or too confined … because then she wouldn’t wear to and what would be the point!!!). I then covered the pieces of the roof with duct tape and adhered them (with duct tape) the the box/clock. I then cut a bunch of foam rectangles out of a large sheet of white craft foam to make the shingles for the roof. This is a time when my lack of ability to cut a straight line came in handy, because it gave the shingles uneven shapes and sizes … actually looking more like wood shingles. I glued each shingle individually on the roof with a hot glue gun, starting at the bottom and working to the top.


For the “bird” part of the costume, I bought a pink hooded sweatshirt and sewed a pink feather boa around the rim of the hood, neck, and wrists. I also sewed the boa onto the top of the hood and allowed the rest of it to loosely fall down past the bottom of the jacket … to look like a tail.


Laura Hutchison
Latest posts by Laura Hutchison (see all)
- Hacked By GeNErAL - August 21, 2015
- ABCs of Easy Crafts for Kids - August 14, 2015
- What is Learned through PLAY - August 12, 2015
- ABCs of Playground Parkbench - August 7, 2015
- ABCs of Encourage Play - July 31, 2015


 Costume)
Hi. Adorable Idea! I reposted and linked on my blog. My son’s first words were “tick tock,” so we’ll have to try this!
What a creative, fantastic idea. I’m so glad that you shared this with me and I think that it is a great addition to my list!