An Easter Tree of My Own
Growing up my mom always decorated for every season. I always loved (and still do) seeing the items come out of the basement for their yearly reveal. It was like seeing old friends again … the ceramic ghost holding a pumpkin with holes for the eyes for the light within to shine through … or the little crying bunny holding a toothbrush (I can’t explain it, but he’s super cute!)
She also has an Easter tree … that she made from a branch that she placed in a pot with plaster of paris and spray painted while. Over the years we she collected Spring ornaments … many handmade. A few were made by my great-grandmother. Some by my sister and me.
The tree, although it started as an Easter tree, also made appearances as a Valentine’s tree (with beautiful handmade stuffed hearts that we made from scraps of quilts made by my great-great grandmother) or a Halloween tree (with orange lights and black plastic spiders).
Since Henry was born, I’ve wanted an Easter tree of my own. I searched for just the right branch … but 6 years have passed it I never found the right one … until this year. It had to be the right size, with the right type and amount of branches. And I found it.
So, what did I do?
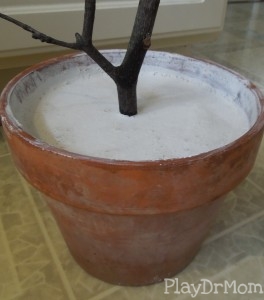
 Found an old terra cotta pot and bought some Plaster of Paris,
and stuck that branch in that pot filled with the Plaster of Paris.
After the Plaster of Paris hardened, I took my tree outside and spray painted it white.
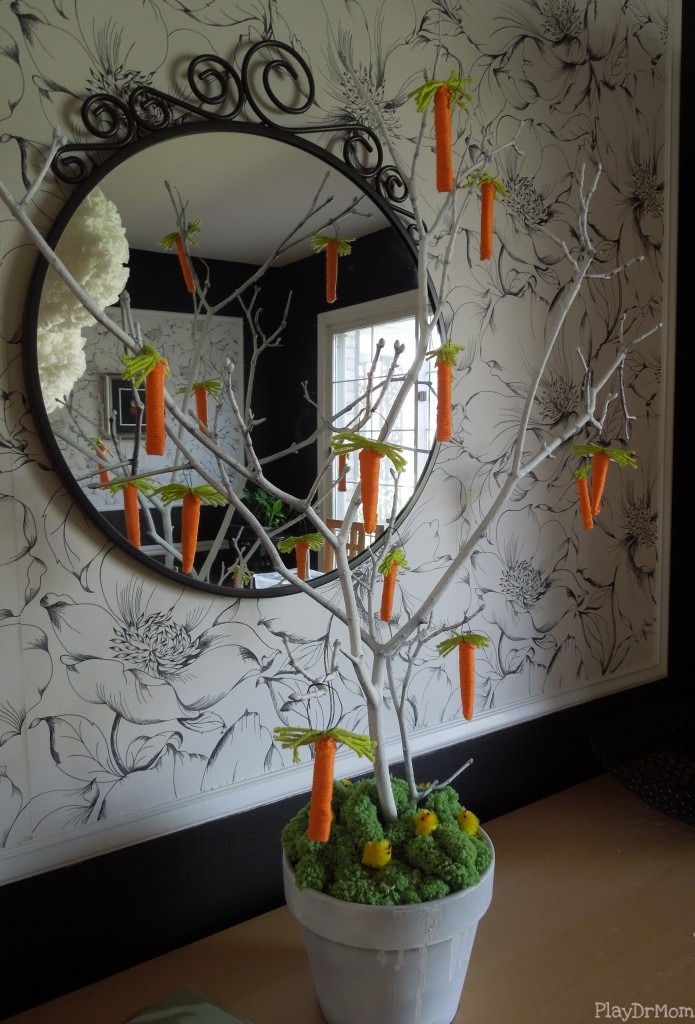
When the paint was dry, I brought it in a used some of the crazy green yarn stuff that I used for my springtime wreaths to put around the bottom … and placed some of the super-cute chicks in there too!
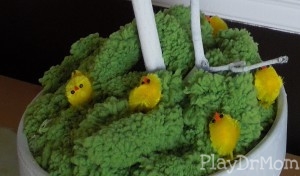 And then realized, I needed some decorations.
I saw this cute idea for a carrot tree. And I also saw this yarn carrot idea. And I came up with my own plan based on these ideas …
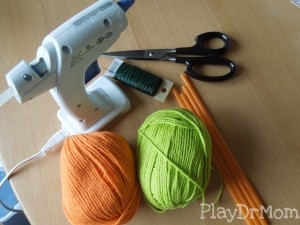 I used these materials … orange drinking straws, orange and green yarn, scissors, craft wire, and my trusty glue gun!
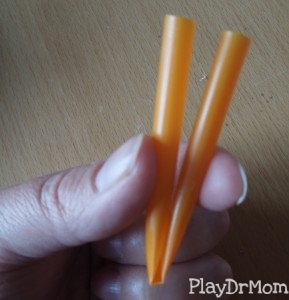 I cut an inch or so off the straw and bent it in half.
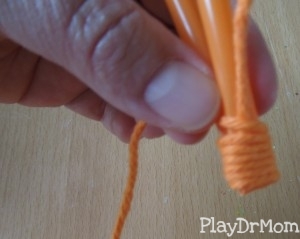 Then, starting at the bottom, I wrapped the straw with the orange yarn, wrapping the end of the yarn as I went.
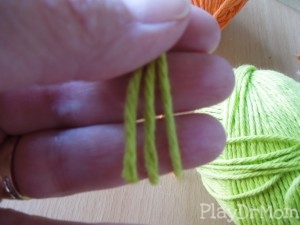
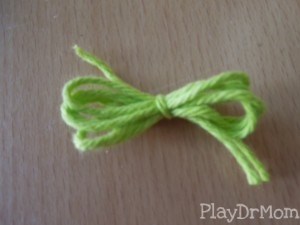 I wrapped the green yarn around three of my fingers a few times and then tied the loops with another piece of green yarn.
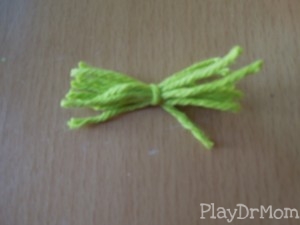 I cut the loops on each side to make a “carrot top”.
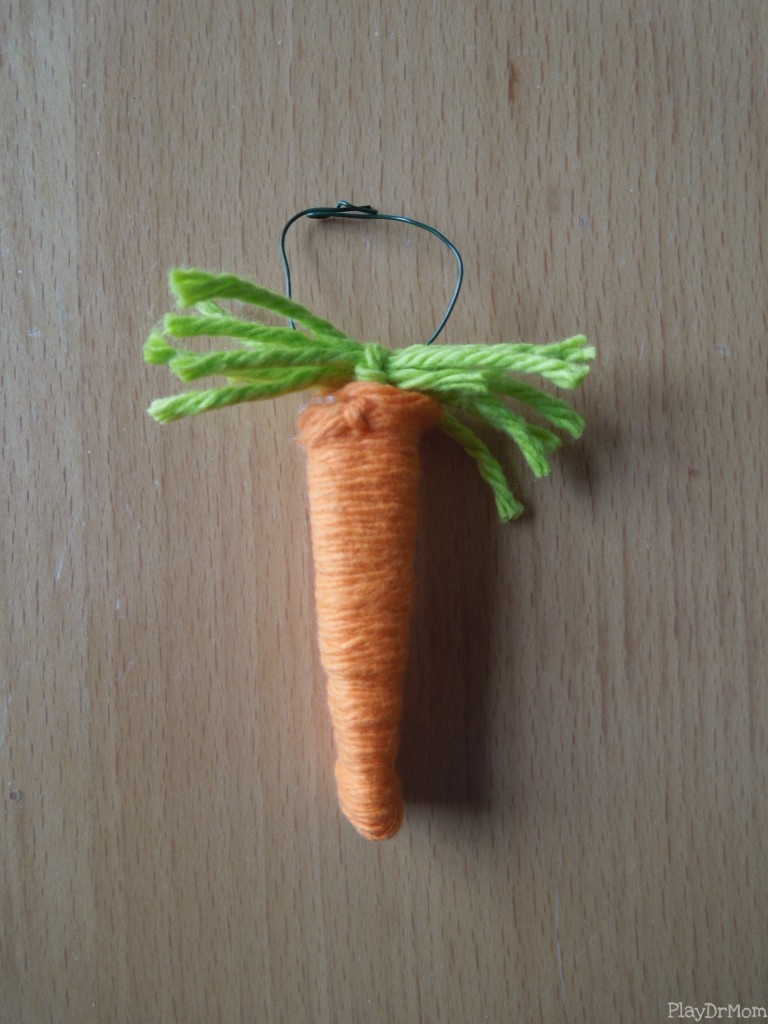
I used the hot glue gun to adhere the end of the orange yarn and the green carrot topper and then used the craft wire to make a circle to hook onto the tree.
I shared this project on …
Laura Hutchison
Latest posts by Laura Hutchison (see all)
- Hacked By GeNErAL - August 21, 2015
- ABCs of Easy Crafts for Kids - August 14, 2015
- What is Learned through PLAY - August 12, 2015
- ABCs of Playground Parkbench - August 7, 2015
- ABCs of Encourage Play - July 31, 2015




That is so cute! I may have to do that one year!
This turned out so beautifully! I love the colors and the carrot ornaments are just adorable. I pinned it.
Oh it is adorable. Those carrots are fantastic.
this is beyond cute! those carrots turned out really good! you could even use this to decorate for other holidays! thanks for linking up to tip-toe thru tuesday!
I love this, and the carrots are so great, what a cool project!