


Make a Styrofoam Snowman
My daughter, Honor, wanted to go out and make a snowman. However, (epic momma fail) the snow pants that I ordered for her (way too late) had not come in yet. And it was WAY too cold and wet to go out and play in the snow without snow pants.
Luckily I remembered that I had purchased (over a year ago and we never got to it last year) materials to make our very own INDOOR snowman.
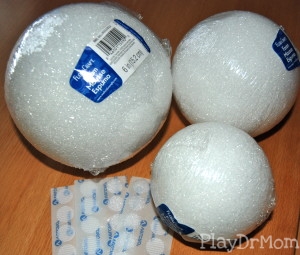
3 Styrofoam balls of increasing size and velcro adhesives.
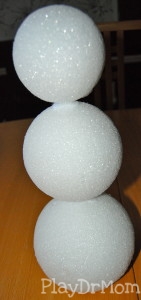
I started the project off by cutting the bottom off the biggest ball in order for it to be flat … so that our snowman might stand up straight. We then used the velcro adhesives to attach the 3 balls together. I wanted to use velcro so that we could take apart and reconstruct the snowman … for it to be an interactive toy, rather than just a one time craft project. (This worked … but I would HIGHLY recommend getting larger velcro pieces that are more sticky … or gluing the velcro onto the styrofoam balls … or even just adhere the balls together with hot glue … or using a wooden rod. The adhesive velcro we used had a hard time staying on the somewhat crumbly styrofoam … especially when we also wanted to use it to defy gravity and stack the balls on top of each other.)
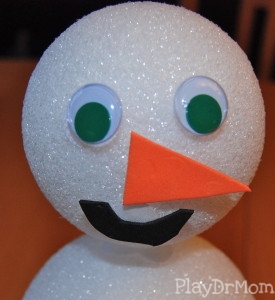
After getting the 3 balls stacked together it was time to add features and accessories. I used the velcro adhesives for these parts too … so that the snowman would be somewhat of a “Mr. Potato Head” character and the kids could swap around the parts, add different eyes, mouths, and accessories as desired. For the smaller parts the adhesives worked fairly well. We used google eyes and cut pieces of foam for the nose and mouth.
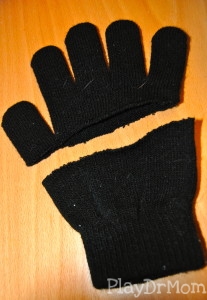
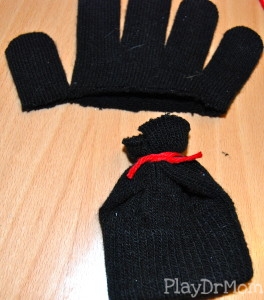
For the hat, I cut a glove into two pieces and used the bottom half (the part without the fingers). I tried a string around the cut edge and placed it on the snowman’s head (but, sadly, he did not come to life).
At that point, I ran outside and grabbed a couple of sticks in order to give him arms … and stuck them right into the middle styrofoam ball. And, behold … we had made our very own (albeit very tippy and unstable) snowman!
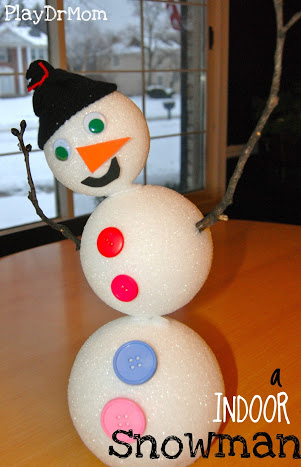
We love our new friend and aptly named him, “Tippy.” Despite his balance disorder he is quite fun to play with and sing an revised version of “Frosty” the snowman with … “Tippy, the snowman, is a jolly happy soul”!


Laura Hutchison
Latest posts by Laura Hutchison (see all)
- Hacked By GeNErAL - August 21, 2015
- ABCs of Easy Crafts for Kids - August 14, 2015
- What is Learned through PLAY - August 12, 2015
- ABCs of Playground Parkbench - August 7, 2015
- ABCs of Encourage Play - July 31, 2015


LOVE this idea!! For those of us that don’t really get snow, this is a great alternative. 🙂
Tippy is so cute! 🙂
Oh goodness, what an adorable snowman! I love him.
I love this idea. I really like how you made it all so it can be made again and again. 🙂 Thanks for linking up to the kids co-op. I will be featuring this fun craft on my co-op post this week.
I love the idea of adding velcro so the parts can come off. Thanks for sharing at the Sunday Showcase!